

How to Recover an Ottoman with Fabric: A Quick Answer
Recovering an ottoman with fabric is an affordable DIY upholstery project that transforms worn furniture in 6-8 hours. You’ll need fabric, a staple gun, scissors, and a screwdriver to remove the old covering, measure and cut new fabric, wrap it tightly around the ottoman, and secure it underneath with staples. This skill saves money compared to professional reupholstery while giving your ottoman a fresh, customized look that matches your 2026 home decor. Whether your ottoman has a simple box shape or decorative legs, the basic process remains manageable for beginners with patience and proper tools.
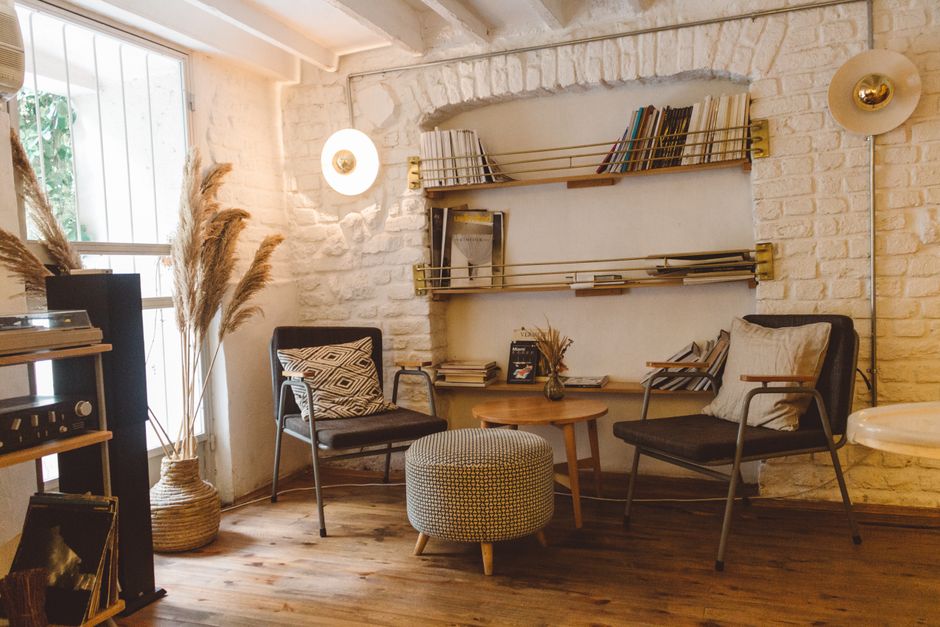
Ottomans are versatile furniture pieces that anchor living rooms and add functional storage. Over time, fabric fades, tears, or simply falls out of style with your interior design. Rather than discarding a structurally sound ottoman, recovering it with new fabric breathes new life into the piece while maintaining its original frame and padding. This sustainable approach aligns with the growing trend of building a sustainable capsule furniture collection in 2026. The process requires no special skills—just careful measurement, patience, and attention to detail.
What Materials and Tools Do You Need to Recover an Ottoman?
Gathering the right supplies before starting ensures a smooth recovery process. Quality materials make the difference between a amateur-looking result and a professional finish. Invest in fabric that suits your lifestyle and decor aesthetic. Natural fibers like linen and cotton age beautifully, while synthetic blends offer stain resistance for high-traffic homes.
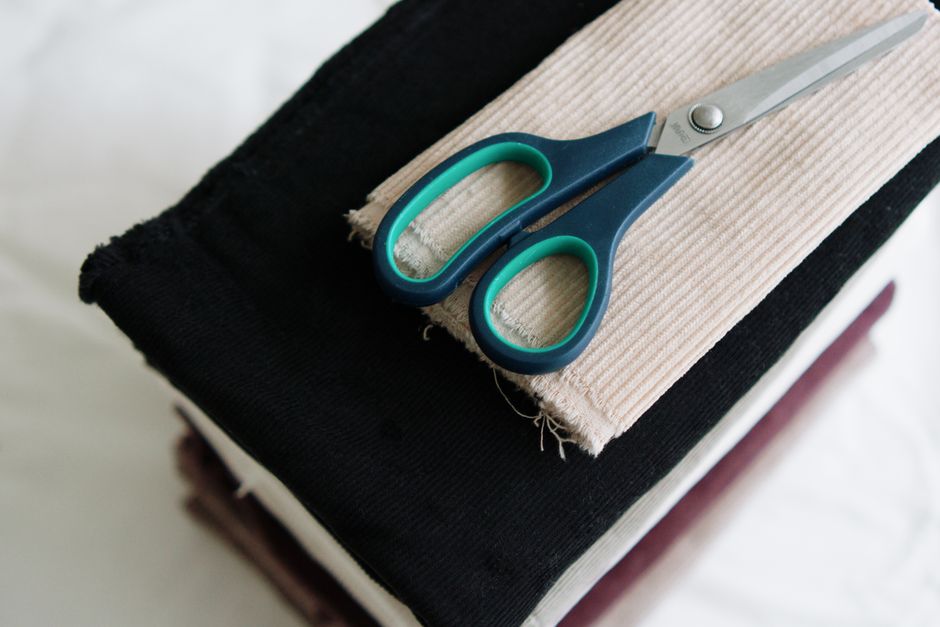
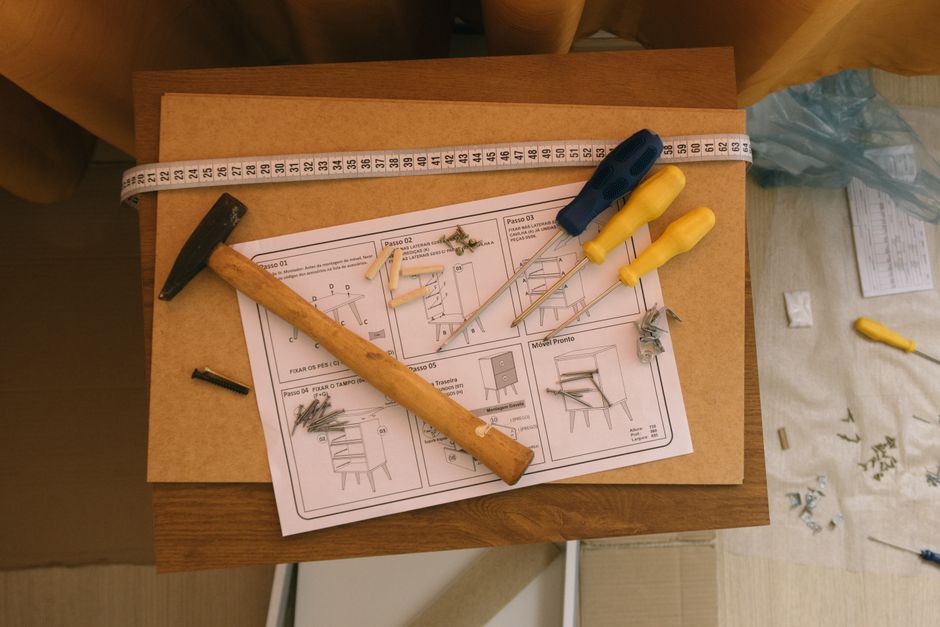
- Upholstery fabric (1.5–3 yards depending on ottoman size)
- Heavy-duty staple gun with 1/2-inch staples
- Scissors or rotary cutter for clean fabric edges
- Measuring tape and chalk or fabric pencil
- Flathead screwdriver for removing old staples
- Needle and thread for hand-stitching corners (optional)
- Batting or padding (if replacing worn cushioning)
- Tack cloth to remove dust and lint
Choosing the Right Fabric for Your Ottoman
Select upholstery-weight fabric rated for furniture use, not lightweight quilting cotton. Upholstery fabric is tightly woven to withstand stretching, stapling, and regular sitting. Check the durability rating—higher Martindale scores indicate longer-lasting fabric. Solid colors hide wear better than light patterns, though patterned fabrics add visual interest to living rooms.
Consider your household’s needs. Families with pets or children benefit from performance fabrics with stain protection. Linen and wool offer natural elegance but require more care. Microsuede provides softness with easy cleaning. Test fabric samples against your existing furniture to ensure color harmony with your accent chairs and sofas.
Key Takeaway: Choose upholstery-weight fabric with appropriate durability for your lifestyle and home aesthetic.
How Do You Prepare Your Ottoman for Recovering?
Preparation is the foundation of successful ottoman recovery. Taking time to remove old fabric carefully prevents damage to the wooden frame. Work in a well-lit area with adequate space to spread materials. Remove the ottoman to a workspace away from foot traffic.
Removing the Old Fabric Covering
Start by flipping the ottoman upside down to access the staples underneath. Use a flathead screwdriver to carefully pry up staples, working slowly to avoid splintering the wood. Remove all staples completely—leftover staples create lumps under new fabric and make wrapping difficult. If staples are stubborn, use a staple remover tool designed for upholstery work.
- Flip ottoman upside down on a protected surface
- Insert screwdriver under each staple and gently pry upward
- Remove old fabric completely and inspect the frame for damage
- Sand rough spots on wooden frames with fine-grit sandpaper
- Wipe down the frame with a tack cloth to remove dust
Once all staples are removed, carefully peel away the old fabric. Examine the padding underneath—if it’s compressed or stained, consider replacing it with new batting. Quality padding ensures your newly recovered ottoman looks plump and sits comfortably. Inspect wooden legs and frame for cracks or damage requiring repair before adding new fabric.
Key Takeaway: Completely remove old staples and inspect the frame before proceeding with new fabric.
How Do You Measure and Cut Fabric for Perfect Fit?
Accurate measurement prevents wasting expensive upholstery fabric. Measure your ottoman’s length, width, and height. Add 4-6 inches to each dimension for wrapping underneath and securing with staples. For patterned fabric, add extra yardage to match patterns across seams.
Calculating Yardage Requirements
For a standard rectangular ottoman, multiply the length by the width, then add the height times two. Divide by 36 to convert square inches to yards. Most ottomans require 1.5 to 3 yards depending on size. Larger ottomans or those with decorative elements need additional yardage. Always purchase slightly more than calculated to account for mistakes or pattern matching.
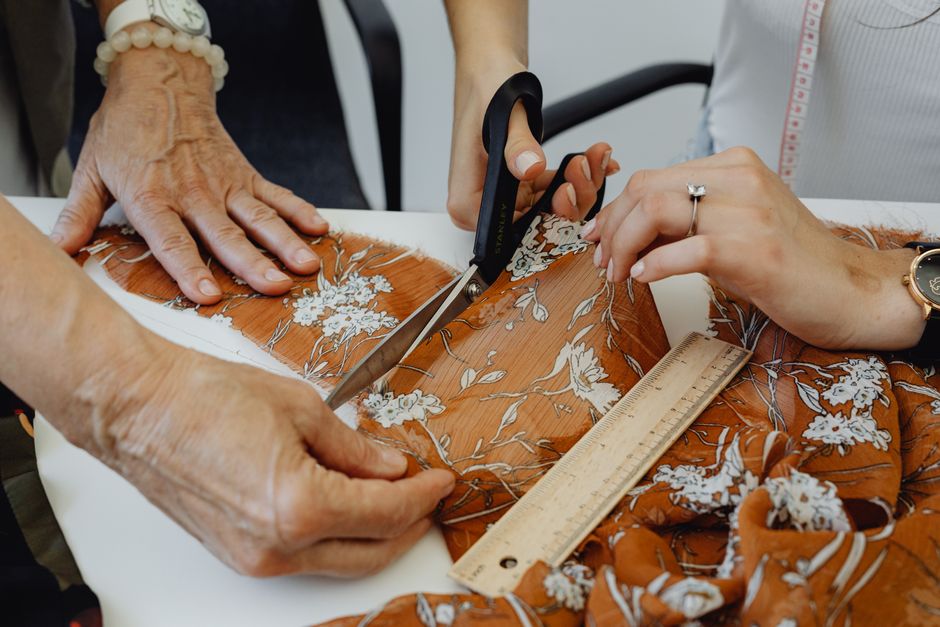
Lay fabric flat and use chalk to mark cutting lines. Cut fabric in one large piece when possible to minimize seams. If your ottoman is very large, you may need to piece fabric together—plan these seams for less visible areas like the back or bottom. Use sharp scissors or a rotary cutter to ensure clean edges that won’t fray during installation.
Key Takeaway: Measure carefully and cut fabric generously to ensure enough material for wrapping and stapling.
What Is the Step-by-Step Process for Wrapping and Stapling?
The wrapping technique determines whether your ottoman looks professionally finished or amateur. Start with one corner and work systematically around the piece. Pull fabric taut but not so tight that you distort the ottoman’s shape. Consistent tension throughout creates smooth, wrinkle-free surfaces.
Wrapping the Ottoman Top and Sides
Center the fabric on the ottoman’s top surface. Fold one long edge down and staple it to the underside, pulling fabric taut. Move to the opposite side, pull fabric snugly, and staple. Repeat for the other two sides, ensuring corners are smooth and tight. Corners require careful folding—fold fabric diagonally to create clean hospital corners similar to bed sheet folding.
- Place fabric centered on ottoman top, right side up
- Pull one long edge underneath and staple every 2-3 inches
- Pull opposite edge taut and staple, creating even tension
- Repeat with width edges, pulling firmly to remove wrinkles
- Fold corners diagonally and staple for crisp, tailored appearance
- Space staples 2-3 inches apart for secure hold
Work methodically around the ottoman, alternating sides to maintain even fabric tension. If you notice wrinkles forming, remove staples and re-pull fabric. This takes patience but produces superior results. Once all four sides are stapled, address the corners with precision—fold excess fabric neatly and staple securely underneath.
Finishing Decorative Details
If your ottoman has decorative legs or trim, work carefully around these elements. You may hand-stitch fabric around legs using a ladder stitch for invisible seams. Alternatively, wrap fabric around legs and staple underneath. Trim excess fabric with sharp scissors, leaving enough for secure stapling without bulk. For ottomans with nailhead trim, you can reuse original nails or add new decorative nails after recovering.
Key Takeaway: Pull fabric taut consistently, space staples evenly, and fold corners precisely for professional results.
How Can You Add Professional Finishing Touches?
Professional details elevate your recovered ottoman from DIY project to designer piece. Decorative elements add visual interest and hide staples. These finishing touches require minimal additional time but significantly impact the final appearance.
Adding Trim and Decorative Elements
Gimp trim or decorative cording hides staples and raw edges around the ottoman’s base. Glue trim using fabric adhesive or hot glue gun, working slowly around the perimeter. Nailhead trim adds sophistication and works especially well with leather-look or neutral fabrics. Space nails 1-2 inches apart for even visual impact. Piping creates tailored edges and can be sewn or glued depending on your comfort level with upholstery techniques.
- Apply gimp trim with fabric glue to hide staples and edges
- Use nailhead trim for sophisticated, tailored appearance
- Add piping for clean, professional seams and edges
- Consider contrasting fabric panels for visual interest
- Hand-stitch visible seams using ladder stitch for invisibility
Test any adhesive on fabric scrap first to ensure it doesn’t stain or damage your fabric. Allow glue to dry completely before moving the ottoman. If using nailhead trim, mark placement with chalk first for even spacing. These details transform a basic recovery into a custom piece that complements your home’s design aesthetic.
Key Takeaway: Decorative trim and nailhead details add professional polish to your recovered ottoman.
What Common Mistakes Should You Avoid When Recovering an Ottoman?
Learning from others’ mistakes saves time, money, and frustration. Most issues stem from inadequate preparation or rushing the process. Take your time with each step and don’t skip important stages. Patience produces results you’ll enjoy for years.
- Failing to remove all old staples before starting (creates lumps and uneven surface)
- Using insufficient fabric yardage (results in tight, wrinkled covering)
- Pulling fabric with uneven tension (causes visible wrinkles and distortion)
- Skipping padding replacement when old padding is compressed (ottoman looks flat)
- Using lightweight fabric instead of upholstery-weight material (fabric tears easily)
- Rushing corner folding (corners look bulky and unprofessional)
- Spacing staples too far apart (fabric shifts and loosens over time)
Troubleshooting Common Issues
If wrinkles appear after stapling, remove staples in that section and re-pull fabric. If corners look bulky, trim excess fabric before stapling final folds. If fabric tears during installation, patch it with matching fabric glued underneath, or start over if the tear is large. These setbacks are learning opportunities—each ottoman teaches valuable skills for future projects.
Key Takeaway: Avoid rushing, use proper materials, and troubleshoot issues promptly for best results.
How Does Ottoman Recovery Fit Into Your 2026 Home Design?
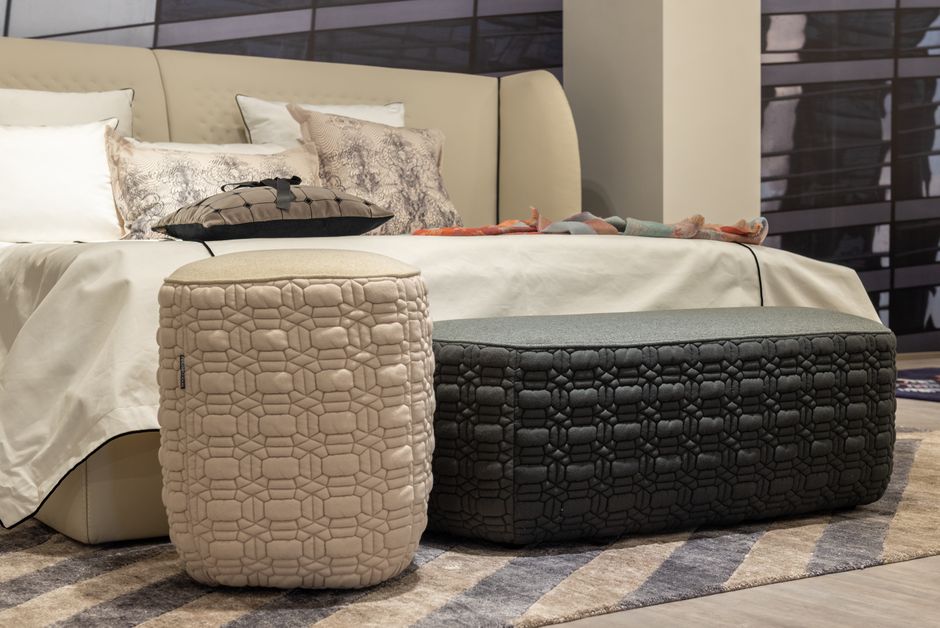
Recovering your ottoman allows you to update your home’s aesthetic without major expense. Choose fabric colors and patterns that complement existing furniture. Your newly recovered ottoman becomes a focal point that ties your room’s design together. This sustainable approach extends furniture life while reducing waste—a key consideration as the sustainable furniture market continues growing in 2026.
Consider your ottoman’s role in your space. A bedroom ottoman benefits from soft, luxurious fabrics like velvet or linen. Living room ottomans need durable, stain-resistant performance fabrics. Entryway ottomans can feature bold patterns or jewel tones that make a statement. Matching your ottoman to your overall design scheme, including accent chairs and other upholstered pieces, creates cohesive interior design. For guidance on coordinating furniture styles, explore choosing accent chairs that fit your decor.
Key Takeaway: Ottoman recovery is an affordable, sustainable way to refresh your home’s design in 2026.
Frequently Asked Questions
How much does it cost to recover an ottoman with fabric?
DIY ottoman recovery costs $40-150 depending on fabric quality and ottoman size. Upholstery fabric ranges from $10-30 per yard. A staple gun costs $20-50 if you don’t own one. Professional reupholstery costs $200-500, making DIY recovery a significant savings. Budget extra for specialty fabrics like leather or designer textiles.
Can you recover an ottoman with a patterned fabric?
Yes, patterned fabric works beautifully on ottomans. Purchase extra yardage to match patterns across seams. Center prominent pattern elements on the ottoman’s top surface. Plan seams for less visible areas like sides or bottom. Large-scale patterns may require more fabric than solid colors.
How long does ottoman recovery take for a beginner?
Most people complete ottoman recovery in 4-8 hours including preparation and finishing touches. Beginners may need 8-10 hours. Removing old staples takes the longest. Practice and familiarity reduce time on subsequent projects. Complex shapes with decorative elements require additional time.
What fabric weight is best for ottoman recovery?
Use upholstery-weight fabric with at least 15,000 Martindale durability rating. Heavier fabrics (54-60 inches wide) provide better coverage and durability. Performance fabrics with stain protection work well for high-traffic areas. Avoid lightweight quilting cotton or fashion fabrics—they tear easily during stapling.
Can you recover an ottoman with leather or faux leather?
Yes, leather and faux leather work excellently for ottomans. Faux leather is more affordable and easier to clean. Use a leather-specific adhesive instead of staples if preferred, though stapling works fine. Leather requires careful handling to avoid punctures from staples.
What should you do if your ottoman has a removable cushion top?
Remove the cushion cover first and recover it separately. Measure the cushion’s top and sides generously. Wrap and staple the cover, then reattach to the ottoman base. This approach works well for ottomans with cushioned seating surfaces or storage compartments underneath.
How Can You Maintain Your Newly Recovered Ottoman?
Proper care extends your ottoman’s life and keeps it looking fresh. Vacuum regularly with an upholstery attachment to remove dust and debris. Blot spills immediately with a clean cloth—don’t rub, which pushes liquid deeper into fabric fibers. For stubborn stains, use a fabric-safe cleaner following manufacturer instructions. Rotate the ottoman occasionally to ensure even wear across the fabric surface. Keep the ottoman away from direct sunlight to prevent fading. With proper maintenance, your recovered ottoman will maintain its appearance for 5-10 years before requiring another refresh. This longevity makes ottoman recovery an excellent sustainable choice compared to constantly replacing furniture.
Key Takeaway: Regular maintenance keeps your recovered ottoman looking beautiful and extends its lifespan significantly.
What Should You Do Next With Your Upholstery Skills?
Successfully recovering an ottoman opens doors to other upholstery projects. You can apply these techniques to dining chairs, accent chairs, and headboards. Each project builds confidence and refines your skills. Consider recovering matching accent chairs to create a coordinated seating arrangement in your living room. Explore selecting accent chairs that complement your decor for inspiration. Small projects like cushions and pillows provide excellent practice before tackling larger furniture pieces. Document your process with photos to create a portfolio of your work. Many people discover a passion for upholstery and transform it into a side business. Your recovered ottoman is just the beginning of your upholstery journey.
Key Takeaway: Ottoman recovery skills transfer to other upholstery projects and furniture restoration work.



Write Your Review
No reviews yet. Be the first to share your experience!