

How to Reupholster Dining Chair Seats: Quick Answer and Overview
Reupholstering dining chair seats is an affordable way to refresh your dining room and extend furniture life. The process involves removing old fabric, preparing the seat frame, selecting new upholstery material, and securing it with staples or tacks. Most DIY projects take 1-3 hours per chair and cost $30-80 in materials. With basic tools and patience, anyone can achieve professional-looking results. This skill transforms worn or outdated chairs into statement pieces that complement your home decor.
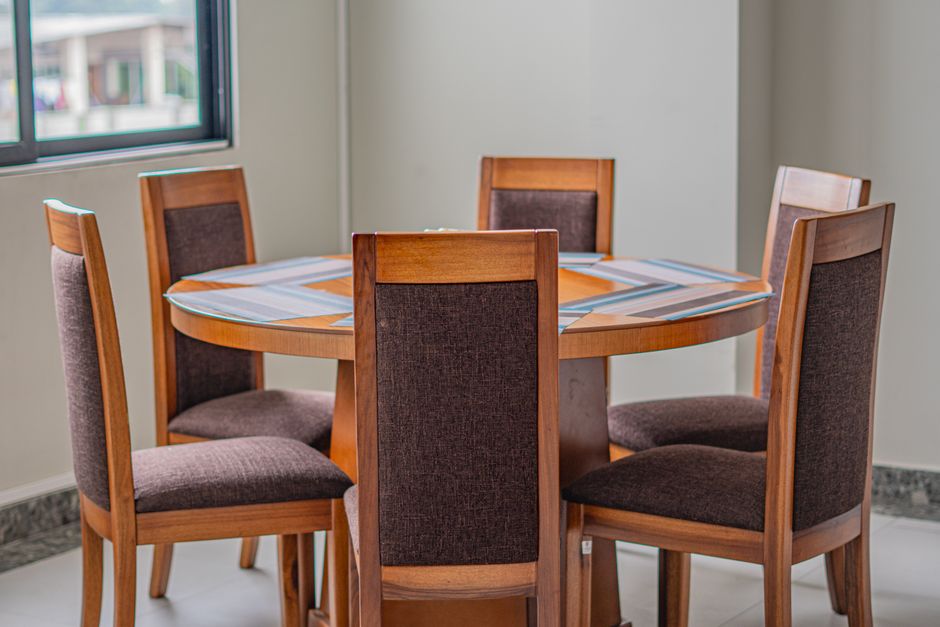
In July 2026, reupholstering has become increasingly popular as homeowners seek sustainable alternatives to furniture replacement. Modern upholstery fabrics offer better durability and stain resistance than previous generations. Whether your dining chairs have loose fabric, faded colors, or worn patches, reupholstering provides a cost-effective solution. This guide walks you through every step, from material selection to final finishing touches.
Key Takeaway: Reupholstering dining chair seats is a manageable DIY project that saves money while giving your dining space a complete makeover.
What Tools and Materials Do You Need for Chair Reupholstering?
Successful reupholstering starts with gathering the right supplies before you begin. You’ll need basic hand tools, upholstery-specific equipment, and quality fabric. Having everything prepared prevents interruptions and ensures professional results. Most tools are inexpensive and reusable for future projects.

Essential Tools for the Job
- Staple gun with heavy-duty staples (electric or pneumatic works best)
- Screwdriver or drill to remove chair seats from frames
- Utility knife or fabric scissors for cutting upholstery
- Flat pry bar or old butter knife to remove old staples
- Measuring tape for accurate fabric dimensions
- Needle and thread for hand-stitching if needed
- Work gloves to protect your hands from staples and splinters
A pneumatic staple gun works faster than manual models and reduces hand fatigue. If you don’t own one, they’re affordable to rent from hardware stores. The pry bar is crucial for removing old staples without damaging the wooden seat frame underneath.
Choosing the Right Upholstery Fabric
Your fabric choice determines durability, appearance, and maintenance requirements. Performance fabrics resist stains and wear better than traditional options. Consider your dining room’s color scheme and how often you use the chairs.
- Performance fabrics: Stain-resistant, durable for high-traffic areas, easy cleaning
- Natural fabrics: Linen, cotton, wool offer classic aesthetics but require more care
- Velvet: Luxurious feel but shows dust and requires gentle handling
- Patterned fabrics: Hide stains better than solid colors, add visual interest
- Leather or faux leather: Premium look, excellent durability, professional appearance
Purchase 1-2 extra yards beyond your measurements for pattern matching and mistakes. High-quality upholstery fabric typically costs $15-40 per yard. Check if your fabric requires special care before committing to a large purchase.
Key Takeaway: Invest in a good staple gun and quality performance fabric to ensure your reupholstered chairs look professional and last for years.
How Do You Prepare Your Dining Chair Seats for Reupholstering?
Proper preparation is the foundation of successful reupholstering. Taking time to remove old materials and inspect the frame prevents problems later. This stage often reveals whether the seat needs additional repairs before new fabric goes on.

Removing Old Upholstery and Staples
Start by flipping your chair upside down to access the bottom of the seat. Carefully pry out old staples using your flat bar, working slowly to avoid damaging the wood. Remove all staples, old fabric, and padding. This tedious step determines how smoothly the rest of the project goes.
- Work methodically around the seat perimeter, removing staples in small sections
- Save intact padding if it’s in good condition to reuse under new fabric
- Inspect the wooden frame for cracks, rot, or structural damage
- Sand any rough spots on the frame to prevent snagging new fabric
- Clean the frame thoroughly before adding new materials
If your chair has decorative nails or tacks, carefully pry them out first. Some antique chairs use hide glue that requires gentle heat to separate old fabric from the frame. Work patiently to preserve the underlying structure.
Assessing and Repairing the Frame
Once the old upholstery is removed, examine the wooden seat frame closely. Small cracks or loose joints should be repaired before adding new fabric. A damaged frame won’t support new upholstery properly and will cause premature failure.
Use wood filler for small gaps or cracks. For loose joints, apply wood glue and clamp them while drying. If the frame shows significant rot or structural issues, professional restoration might be necessary. Most dining chair frames are solid and need only minor cleanup.
Key Takeaway: Thorough preparation, including complete staple removal and frame inspection, prevents problems and ensures your new upholstery looks perfect.
What Are the Step-by-Step Techniques for Upholstering Chair Seats?
The actual upholstering process follows a specific sequence to achieve tight, wrinkle-free fabric. Proper technique creates professional results without visible folds or loose areas. This section breaks down each step for clarity.

Measuring and Cutting Your Fabric
Accurate measurements are essential for avoiding waste and achieving proper fit. Measure your seat in all directions, adding 3-4 inches on each side for wrapping around the frame. This extra fabric ensures you have enough material to pull tight and staple securely.
- Measure length, width, and diagonal dimensions for rectangular seats
- For patterned fabric, plan cuts to center designs on the seat
- Account for fabric direction and nap (directional texture)
- Add 4-5 inches extra for corners and securing underneath
- Mark cutting lines with chalk or fabric markers for accuracy
Cut fabric slightly larger than needed—you can trim excess later. Uneven cuts create visible seams and unprofessional appearance. Use a sharp utility knife or fabric scissors for clean edges.
Attaching Padding and Base Layers
Quality padding creates comfort and protects fabric from the hard frame. High-density foam or cotton batting works well for dining chairs. Staple padding to the top of the frame, stretching it slightly for even coverage.
Layer your materials in this order: wooden frame, padding, upholstery fabric. Ensure padding extends evenly across the entire seat surface. Uneven padding creates lumps and reduces comfort. Trim excess padding flush with the frame edges.
Securing Fabric to the Frame
This is where precision matters most. Position your fabric centered on the seat, then staple the middle of each side first. Work from the center outward, alternating sides to maintain even tension. This technique prevents wrinkles and ensures balanced appearance.
- Start with one staple in the center of each side (front, back, left, right)
- Pull fabric taut and add staples 2-3 inches apart along each edge
- Alternate between opposite sides to distribute tension evenly
- Work corners last, folding fabric for clean diagonal lines
- Check underneath frequently to ensure staples are driving straight
Pull fabric firmly but not excessively—over-stretching distorts patterns and stresses the frame. Staples should be fully driven, not protruding from wood. If a staple misses or bends, remove it immediately and try again nearby.
Finishing Corners and Edges
Corners require special attention for a polished appearance. Fold excess fabric at corners into clean diagonal lines, similar to gift wrapping. Staple these folds securely, ensuring no raw edges show from the top.
For a professional touch, add decorative gimp tape or nailhead trim around the perimeter. This hides staples and adds design interest. Alternatively, leave the bottom unfinished if the chair will sit against a wall or under a table.
Key Takeaway: Proper fabric tension, alternating staple placement, and careful corner folding create professional results that rival commercial upholstery.
How Can You Achieve Professional Finishing Touches?
The final details separate amateur projects from professional-looking reupholstery. Adding trim, reinforcing seams, and protecting fabric extend the life of your work. These finishing steps take minimal time but dramatically improve appearance.
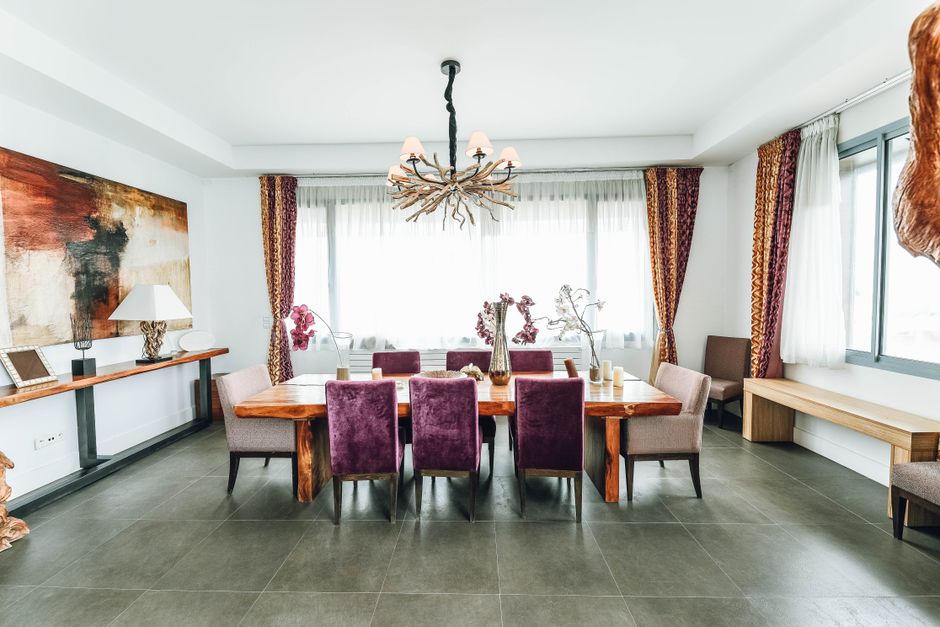
Adding Trim and Decorative Elements
Decorative trim serves both aesthetic and practical purposes. Gimp tape, nailhead trim, and piping hide staples and raw edges while adding visual interest. Choose trim that complements your fabric and dining room style.
- Gimp tape: Adhesive-backed fabric trim that covers staples seamlessly
- Nailhead trim: Brass or nickel studs create elegant, tailored appearance
- Piping: Cord-wrapped fabric adds dimension and professional polish
- Contrasting trim: Creates visual boundaries and emphasizes design lines
Apply gimp tape with contact cement or spray adhesive, pressing firmly for secure bond. Nailhead trim requires individual hammering but creates stunning results. Start in one corner and work methodically around the perimeter for even spacing.
Protecting Your Upholstery Investment
Fabric protection treatments extend the life of your reupholstered chairs significantly. Scotchgard and similar products repel stains and moisture while maintaining fabric feel. Apply protection soon after completing the project, before the chairs experience heavy use.
Regular maintenance keeps your chairs looking fresh. Vacuum weekly to remove dust and debris. Address spills immediately with appropriate cleaning solutions. Rotate chair usage to distribute wear evenly across all seats.
Key Takeaway: Decorative trim and fabric protection treatments transform your reupholstered chairs into heirloom-quality pieces that resist wear and staining.
What Practical Tips Ensure Success on Your First Reupholstering Project?
Learning from experienced upholsterers helps you avoid common mistakes. These actionable tips address challenges that DIYers frequently encounter. Implementing these strategies increases your success rate dramatically.
Step-by-Step Practical Checklist
- Take photos of your original chair before disassembly for reference during reassembly
- Label or diagram which seat goes on which chair if reupholstering multiple pieces
- Practice staple gun technique on scrap wood before working on actual chairs
- Wear safety glasses when removing old staples to protect your eyes
- Keep your work area organized with materials sorted by chair
- Test fabric colorfastness by rubbing with a damp cloth on inconspicuous areas
- Use a pneumatic staple gun for consistent, professional staple depth
- Allow adequate drying time if using adhesives for padding or trim
Troubleshooting Common Problems
Wrinkles in fabric typically result from uneven tension during stapling. Solution: Remove problem staples and re-staple with better tension. Loose fabric indicates insufficient stapling or weak staple gun. Add more staples or upgrade to a pneumatic gun. Visible staples mean trim placement is off—adjust decorative tape or nailheads slightly.
If padding shifts during use, you didn’t staple it securely enough. Staple padding every 2-3 inches rather than every 4-5 inches. Fabric bleeding or fading suggests you didn’t test colorfastness first. Choose pre-tested performance fabrics to avoid this issue in future projects.
Key Takeaway: Documentation, practice, and systematic troubleshooting transform potential frustrations into learning opportunities that improve your reupholstering skills.
Frequently Asked Questions
How much does it cost to reupholster dining chair seats?
Total cost typically ranges from $30-80 per chair depending on fabric quality and whether you already own tools. Upholstery fabric costs $15-40 per yard, and you’ll need 1-2 yards per seat. If you must purchase a staple gun, add $30-100 to your initial investment. Professional upholstery services charge $100-300 per chair, making DIY significantly more affordable.
Can you reupholster a chair seat without a staple gun?
Yes, but it’s more challenging. Traditional upholsterers used tacks and hide glue for centuries. You can use upholstery tacks and a hammer, though staples provide faster, more secure results. Adhesives alone don’t hold fabric adequately on dining chair seats that experience regular use and movement. A staple gun is the most practical tool for DIY reupholstering.
How long does reupholstered fabric typically last?
Quality upholstery fabric lasts 5-10 years with proper care, depending on usage and fabric type. Performance fabrics resist wear better than delicate natural fibers. High-traffic dining chairs may need refreshing sooner than occasional-use chairs. Protective treatments and regular cleaning extend fabric life significantly. Professional reupholstering uses the same materials, so longevity is comparable.
What’s the best fabric for dining chair seats?
Performance fabrics are ideal for dining chairs due to stain resistance and durability. Microfiber, solution-dyed polyester, and treated linen resist spills and wear better than untreated fabrics. Consider your dining habits—formal dining benefits from elegant fabrics like velvet, while family-oriented spaces need practical, washable options. Test fabric samples in your dining room lighting before purchasing.
Do you need to remove the entire chair seat to reupholster?
Yes, for most dining chairs the seat cushion or seat platform detaches from the chair frame. Remove screws or bolts underneath the chair to separate the seat. Some chairs have seats that are permanently attached, requiring in-place reupholstering. Check your specific chair design before beginning—most modern dining chairs feature removable seats for easy reupholstering.
Can you reupholster a chair seat with a sewing machine instead of staples?
Sewing alone won’t adequately secure upholstery fabric to a wooden seat frame. Stitching works for attaching fabric to fabric (like cushion covers) but not for anchoring to wood. Combine staples with stitching for decorative seams around edges if desired. Staples remain the most practical and secure method for dining chair seat reupholstering.
How Should You Maintain Your Newly Reupholstered Dining Chairs?
Protecting your investment requires consistent maintenance habits. Regular care prevents stains, extends fabric life, and keeps chairs looking fresh. Establish a routine that takes only minutes per week to maintain professional appearance.
Vacuum your chairs weekly using an upholstery attachment to remove dust and crumbs. Address spills immediately with appropriate cleaning solutions—blot rather than rub to avoid pushing liquid deeper into fabric. For stubborn stains, test cleaners on hidden areas first. Rotate chair usage if possible to distribute wear evenly across all seats in your set.
Professional cleaning annually keeps heavily-used dining chairs pristine. Many upholstery cleaners offer affordable maintenance services. Avoid direct sunlight exposure to prevent fading—use curtains or blinds during peak sun hours. Keep dining chairs away from heat sources and moisture that compromise fabric integrity.
Key Takeaway: Simple weekly maintenance and prompt stain treatment preserve your reupholstered chairs’ appearance and extend their functional life to a decade or more.
What Makes Reupholstering Dining Chair Seats a Smart Home Investment?
Reupholstering transforms worn furniture into statement pieces while maintaining structural integrity. This sustainable approach reduces waste and honors quality craftsmanship. In 2026, eco-conscious homeowners increasingly choose reupholstering over replacement, aligning with environmental values while saving money. Your dining chairs represent an investment in both aesthetics and sustainability.
The skills you develop through this project apply to other furniture pieces throughout your home. Once you’ve successfully reupholstered dining chairs, ottoman seats, kitchen stools, and accent chairs become manageable projects. Building these DIY capabilities increases your confidence and independence in home maintenance. You’ll appreciate your reupholstered chairs daily, knowing you created something beautiful with your own hands.
For additional home décor inspiration, explore how to style a coffee table like a designer or learn about arranging furniture in small living rooms. If you’re considering other furniture projects, our guides on quick furniture assembly and professional delivery services provide complementary information for complete home transformation.
Key Takeaway: Reupholstering dining chair seats is an affordable, sustainable, and rewarding project that enhances your dining space while building valuable DIY skills for future furniture restoration.





Write Your Review
No reviews yet. Be the first to share your experience!